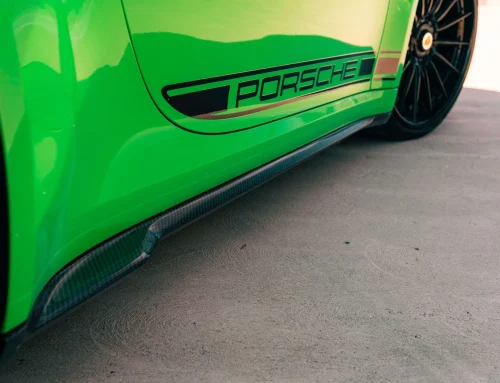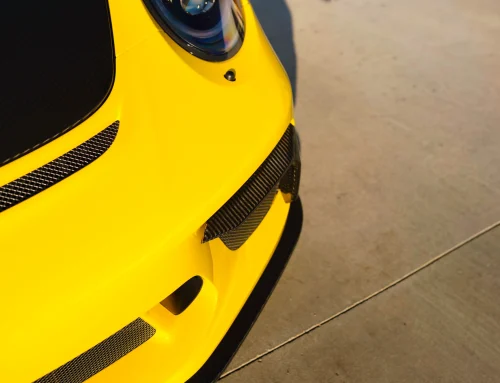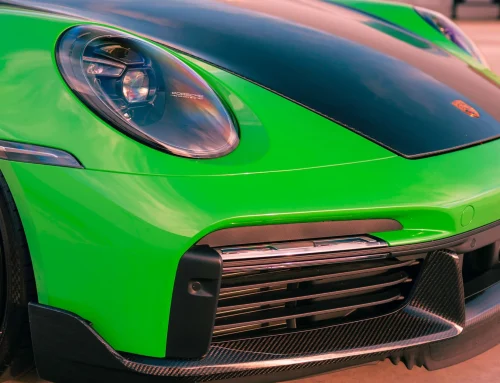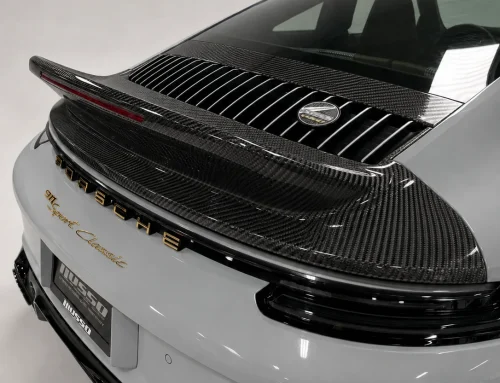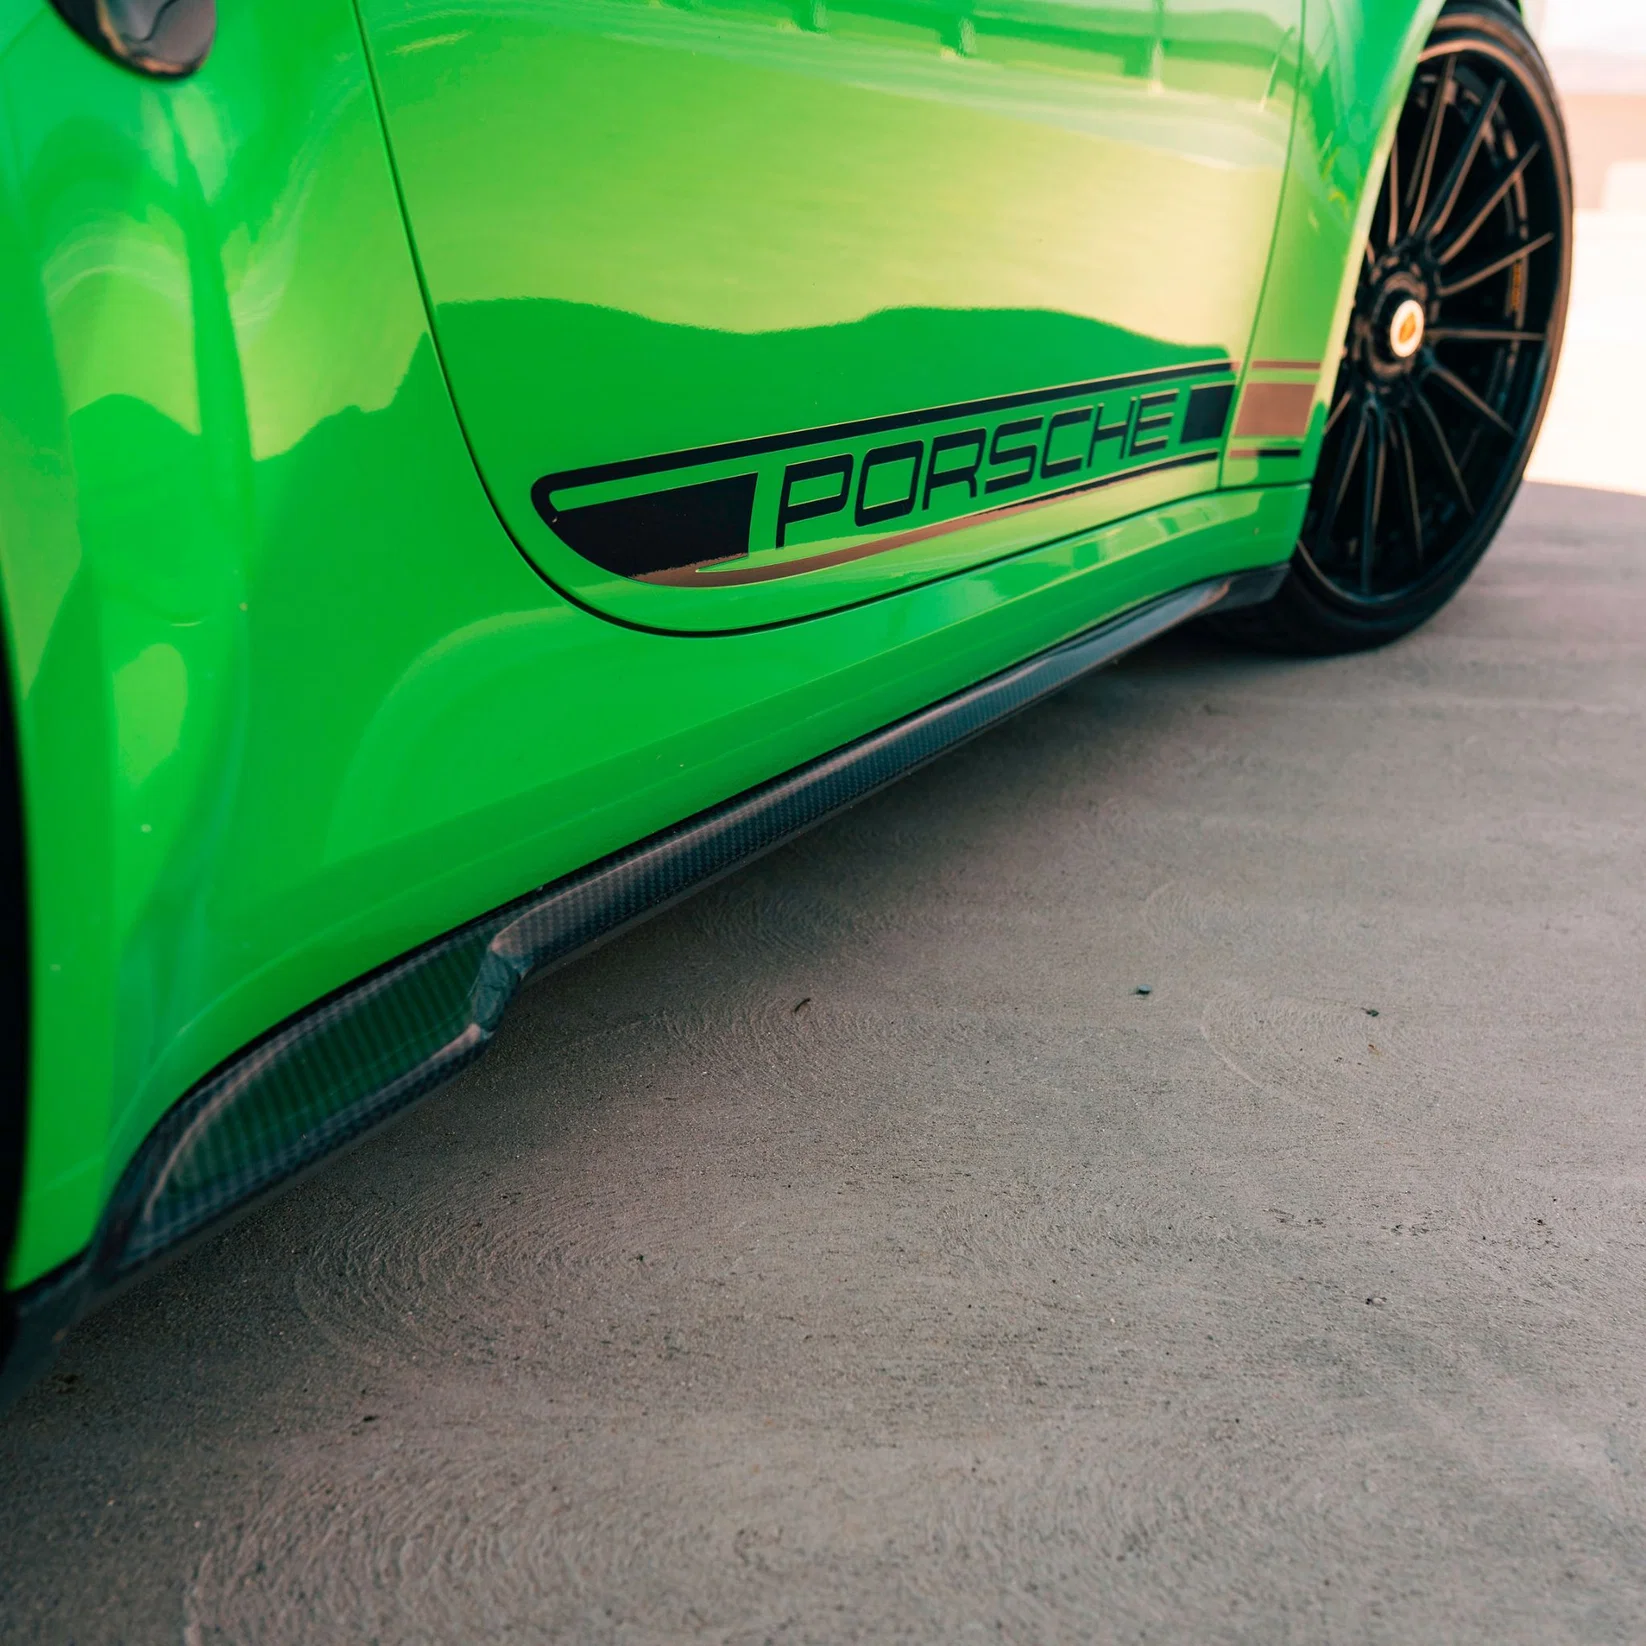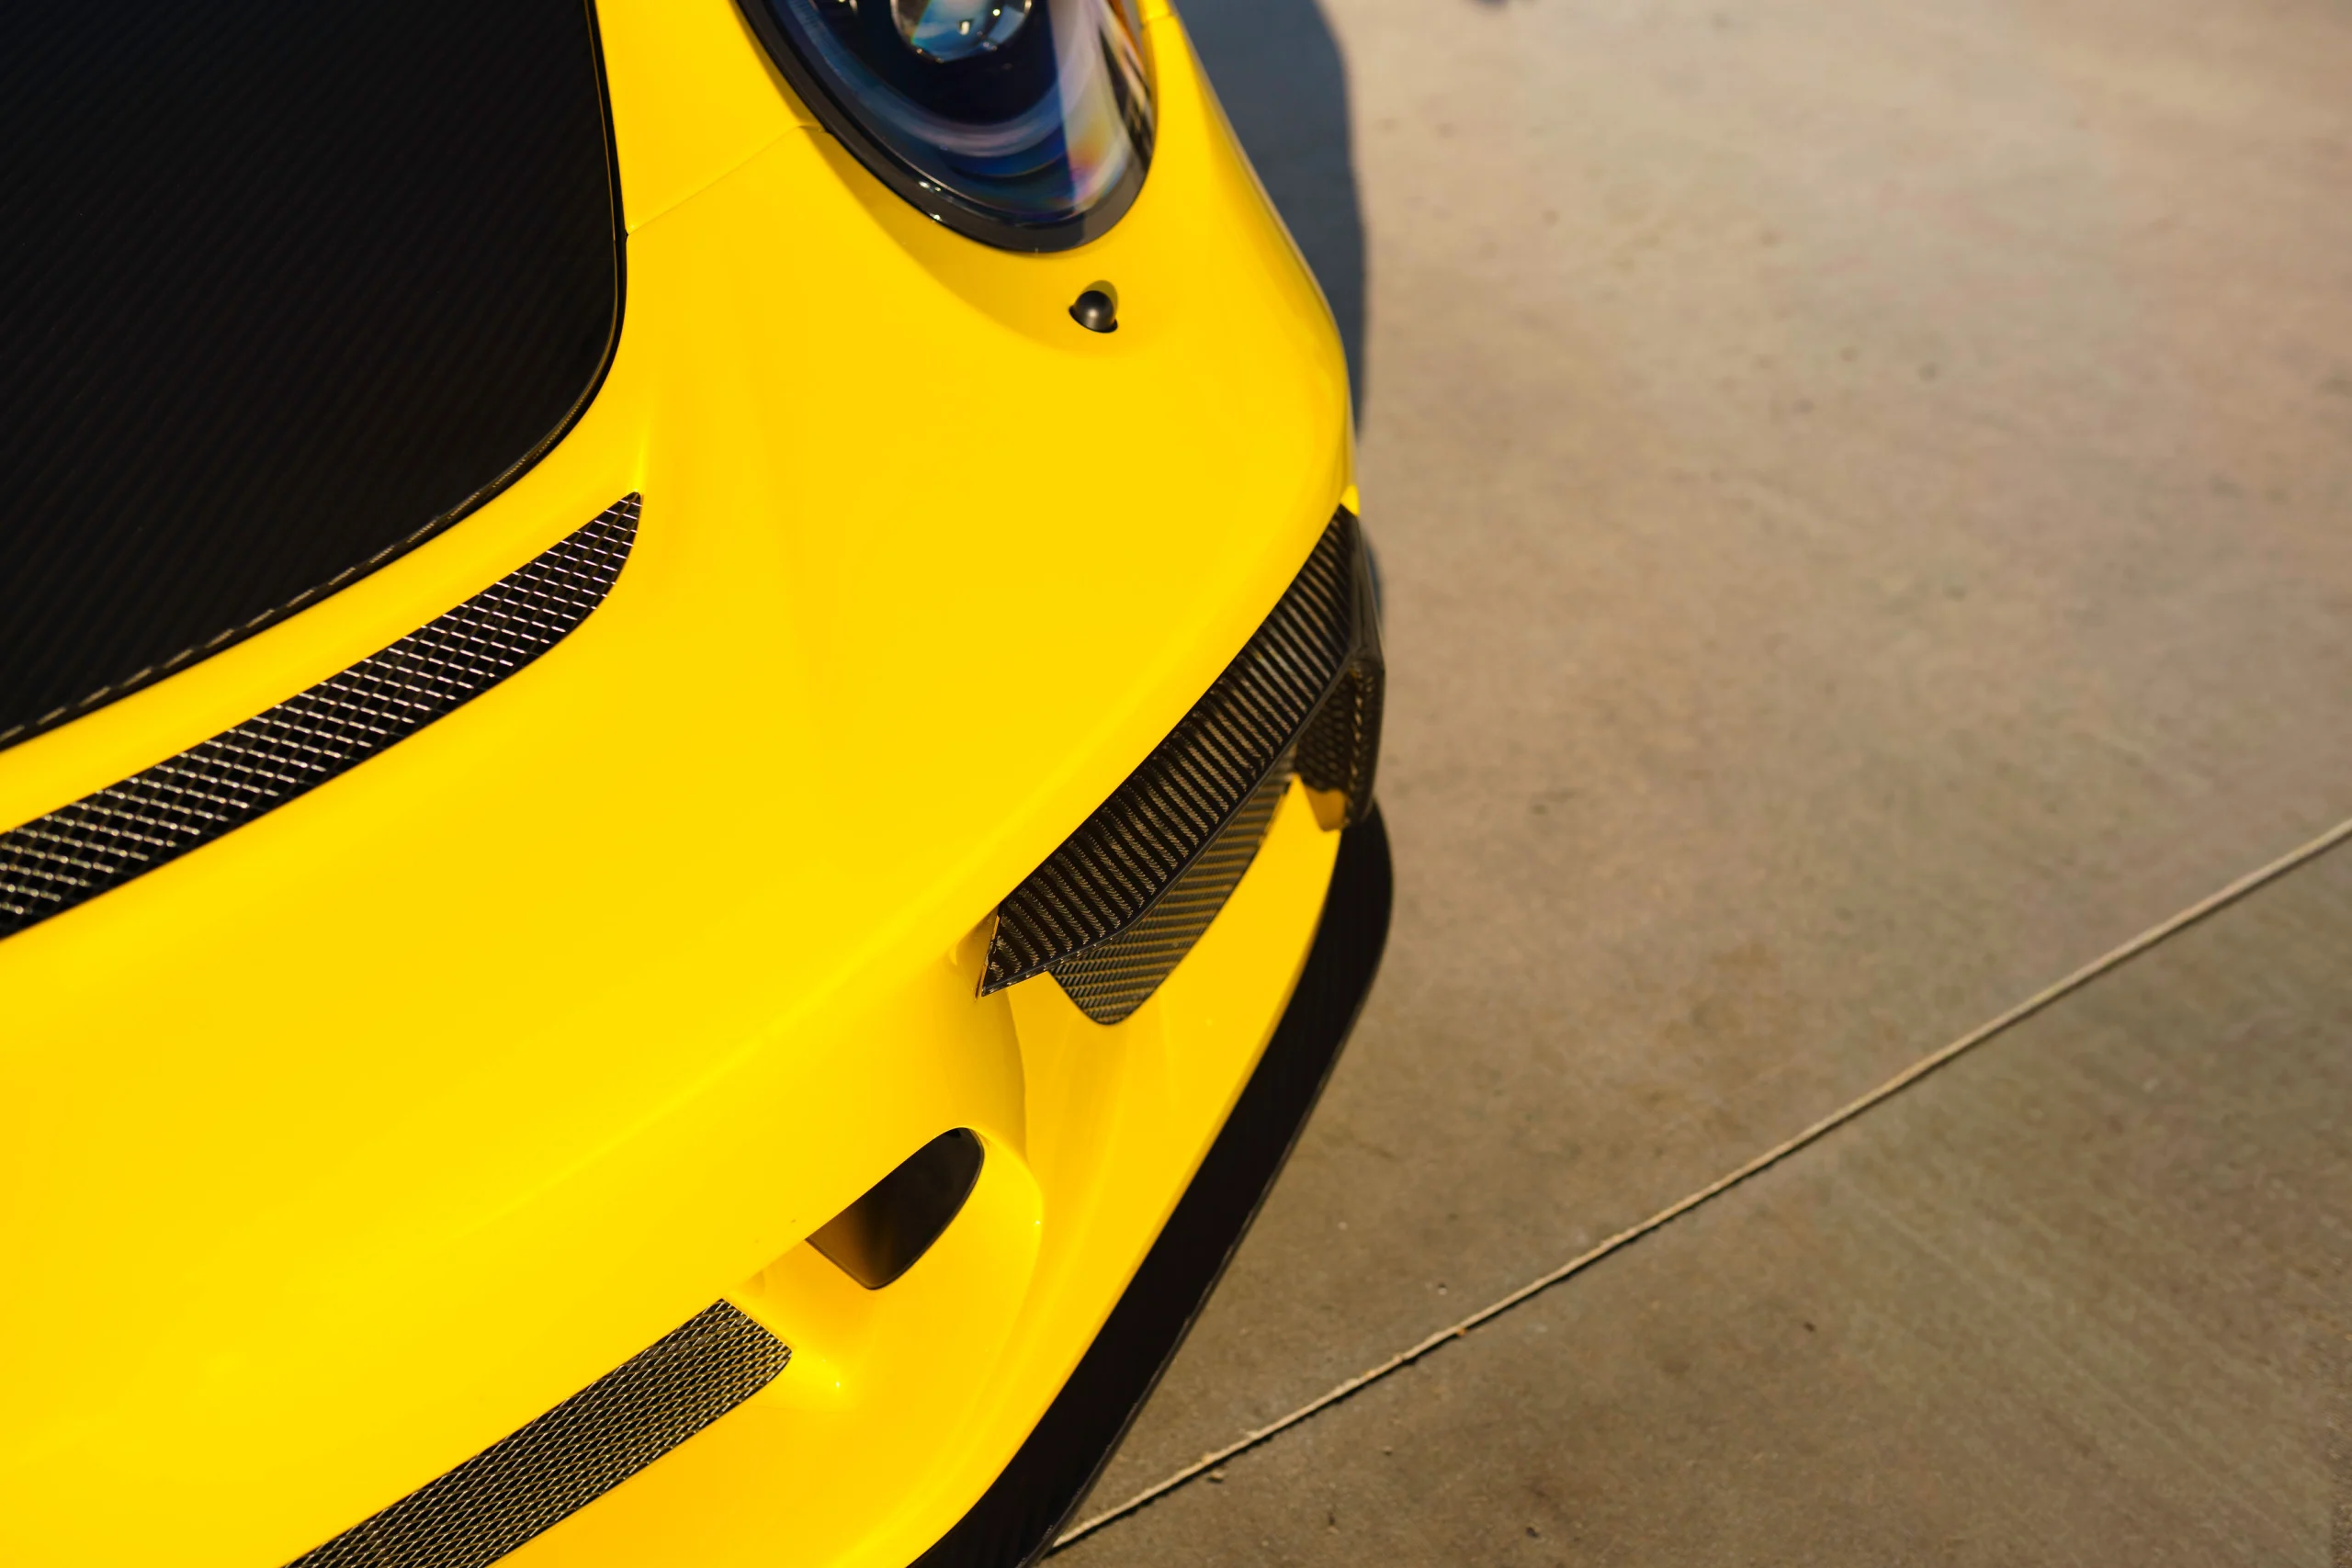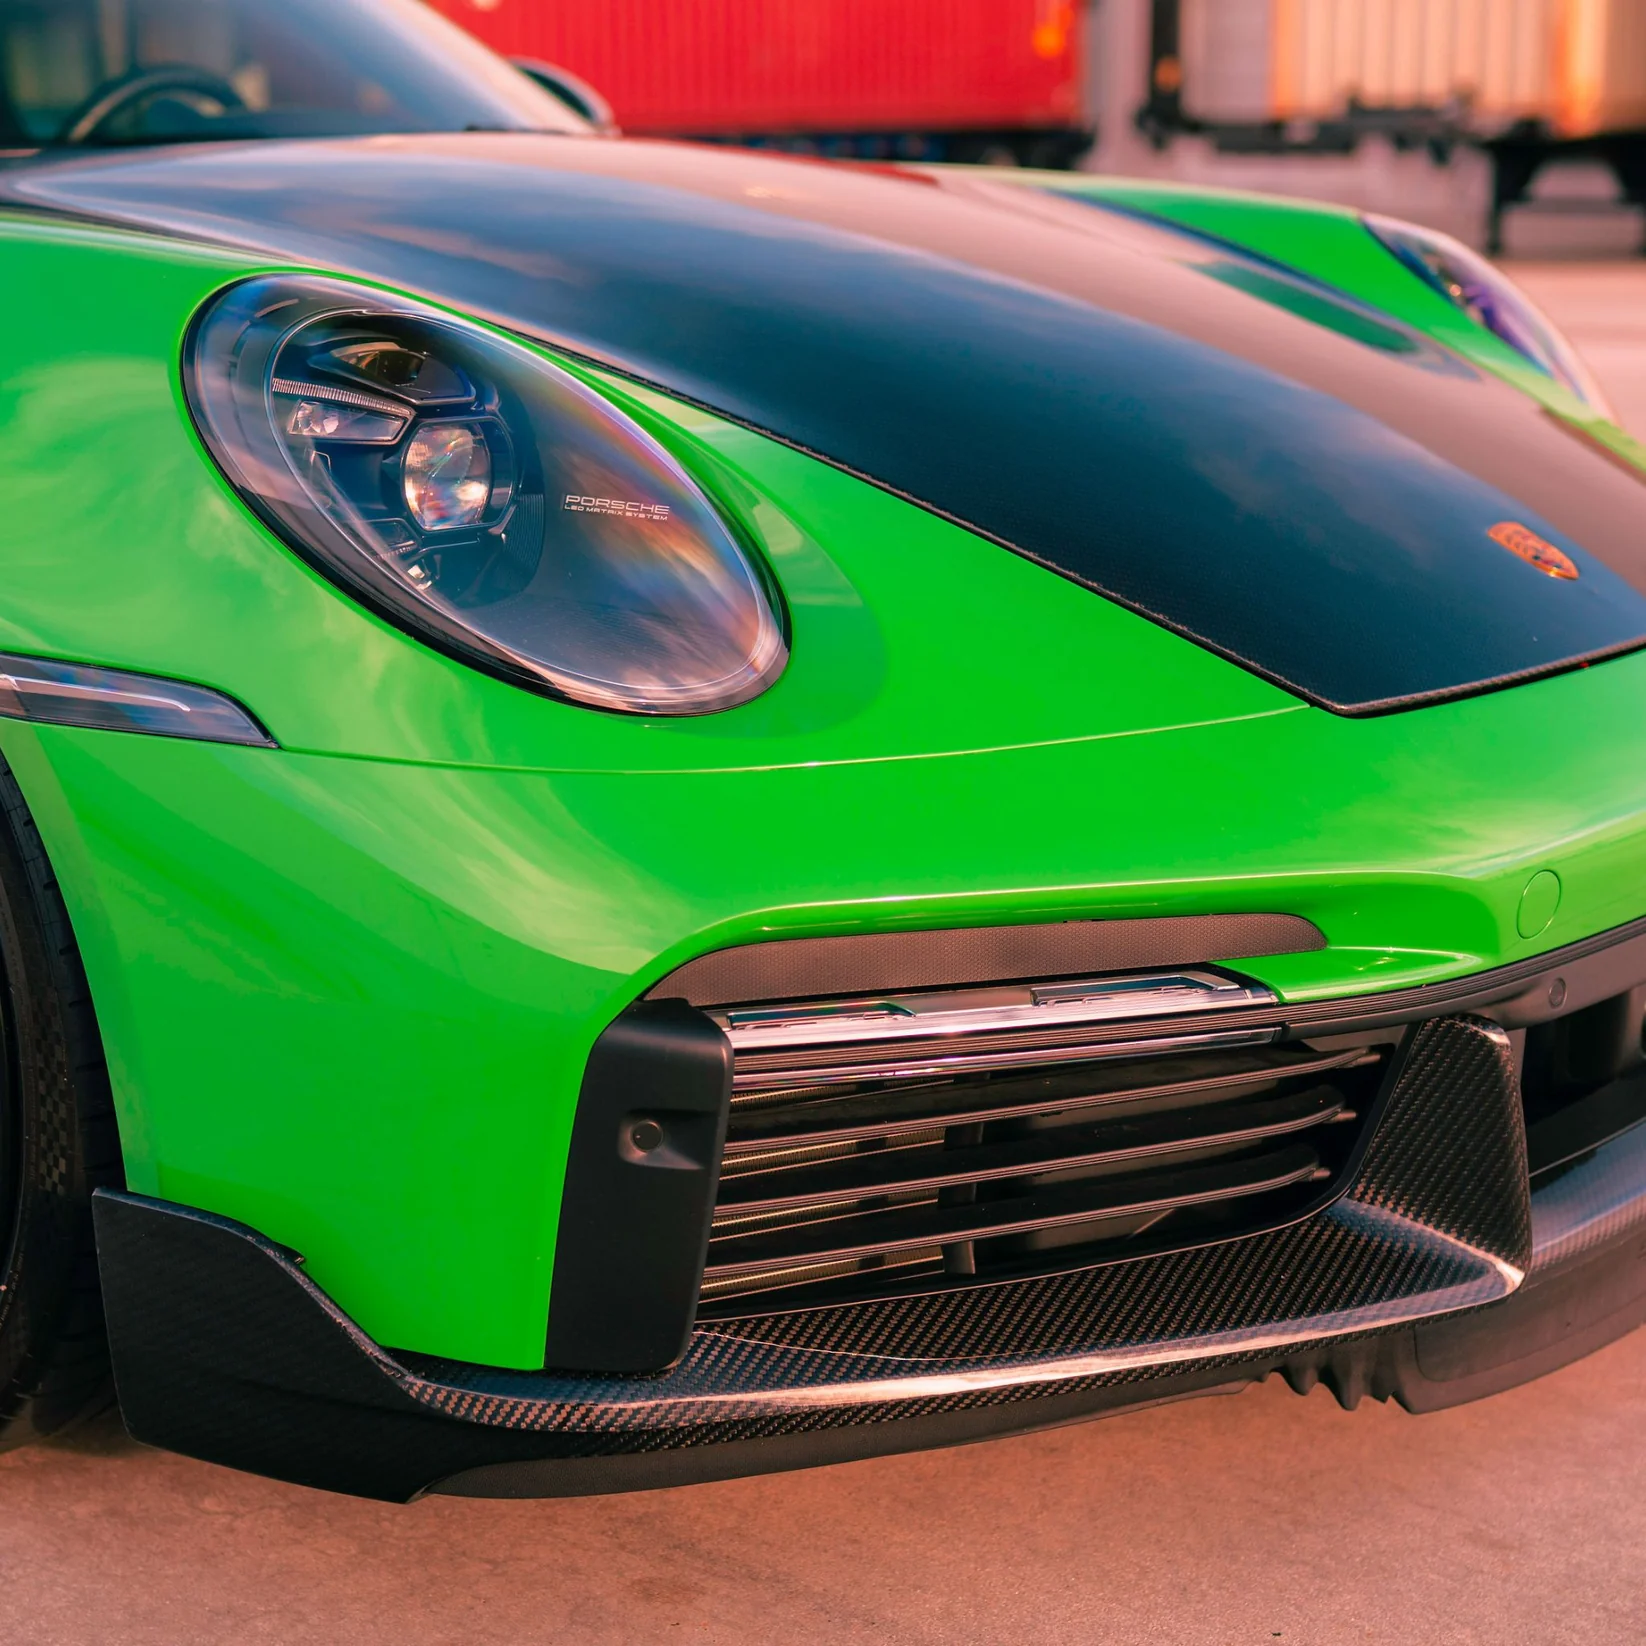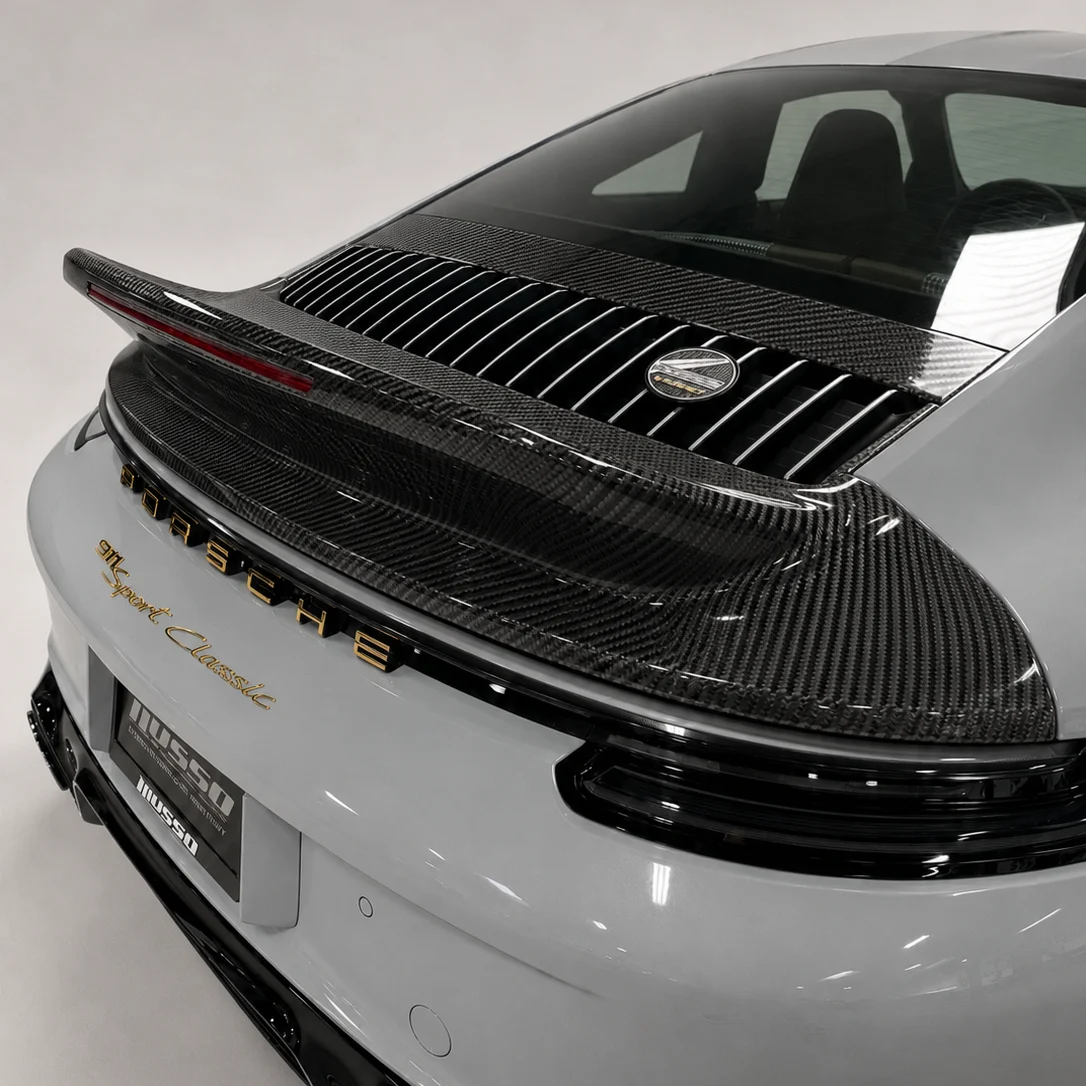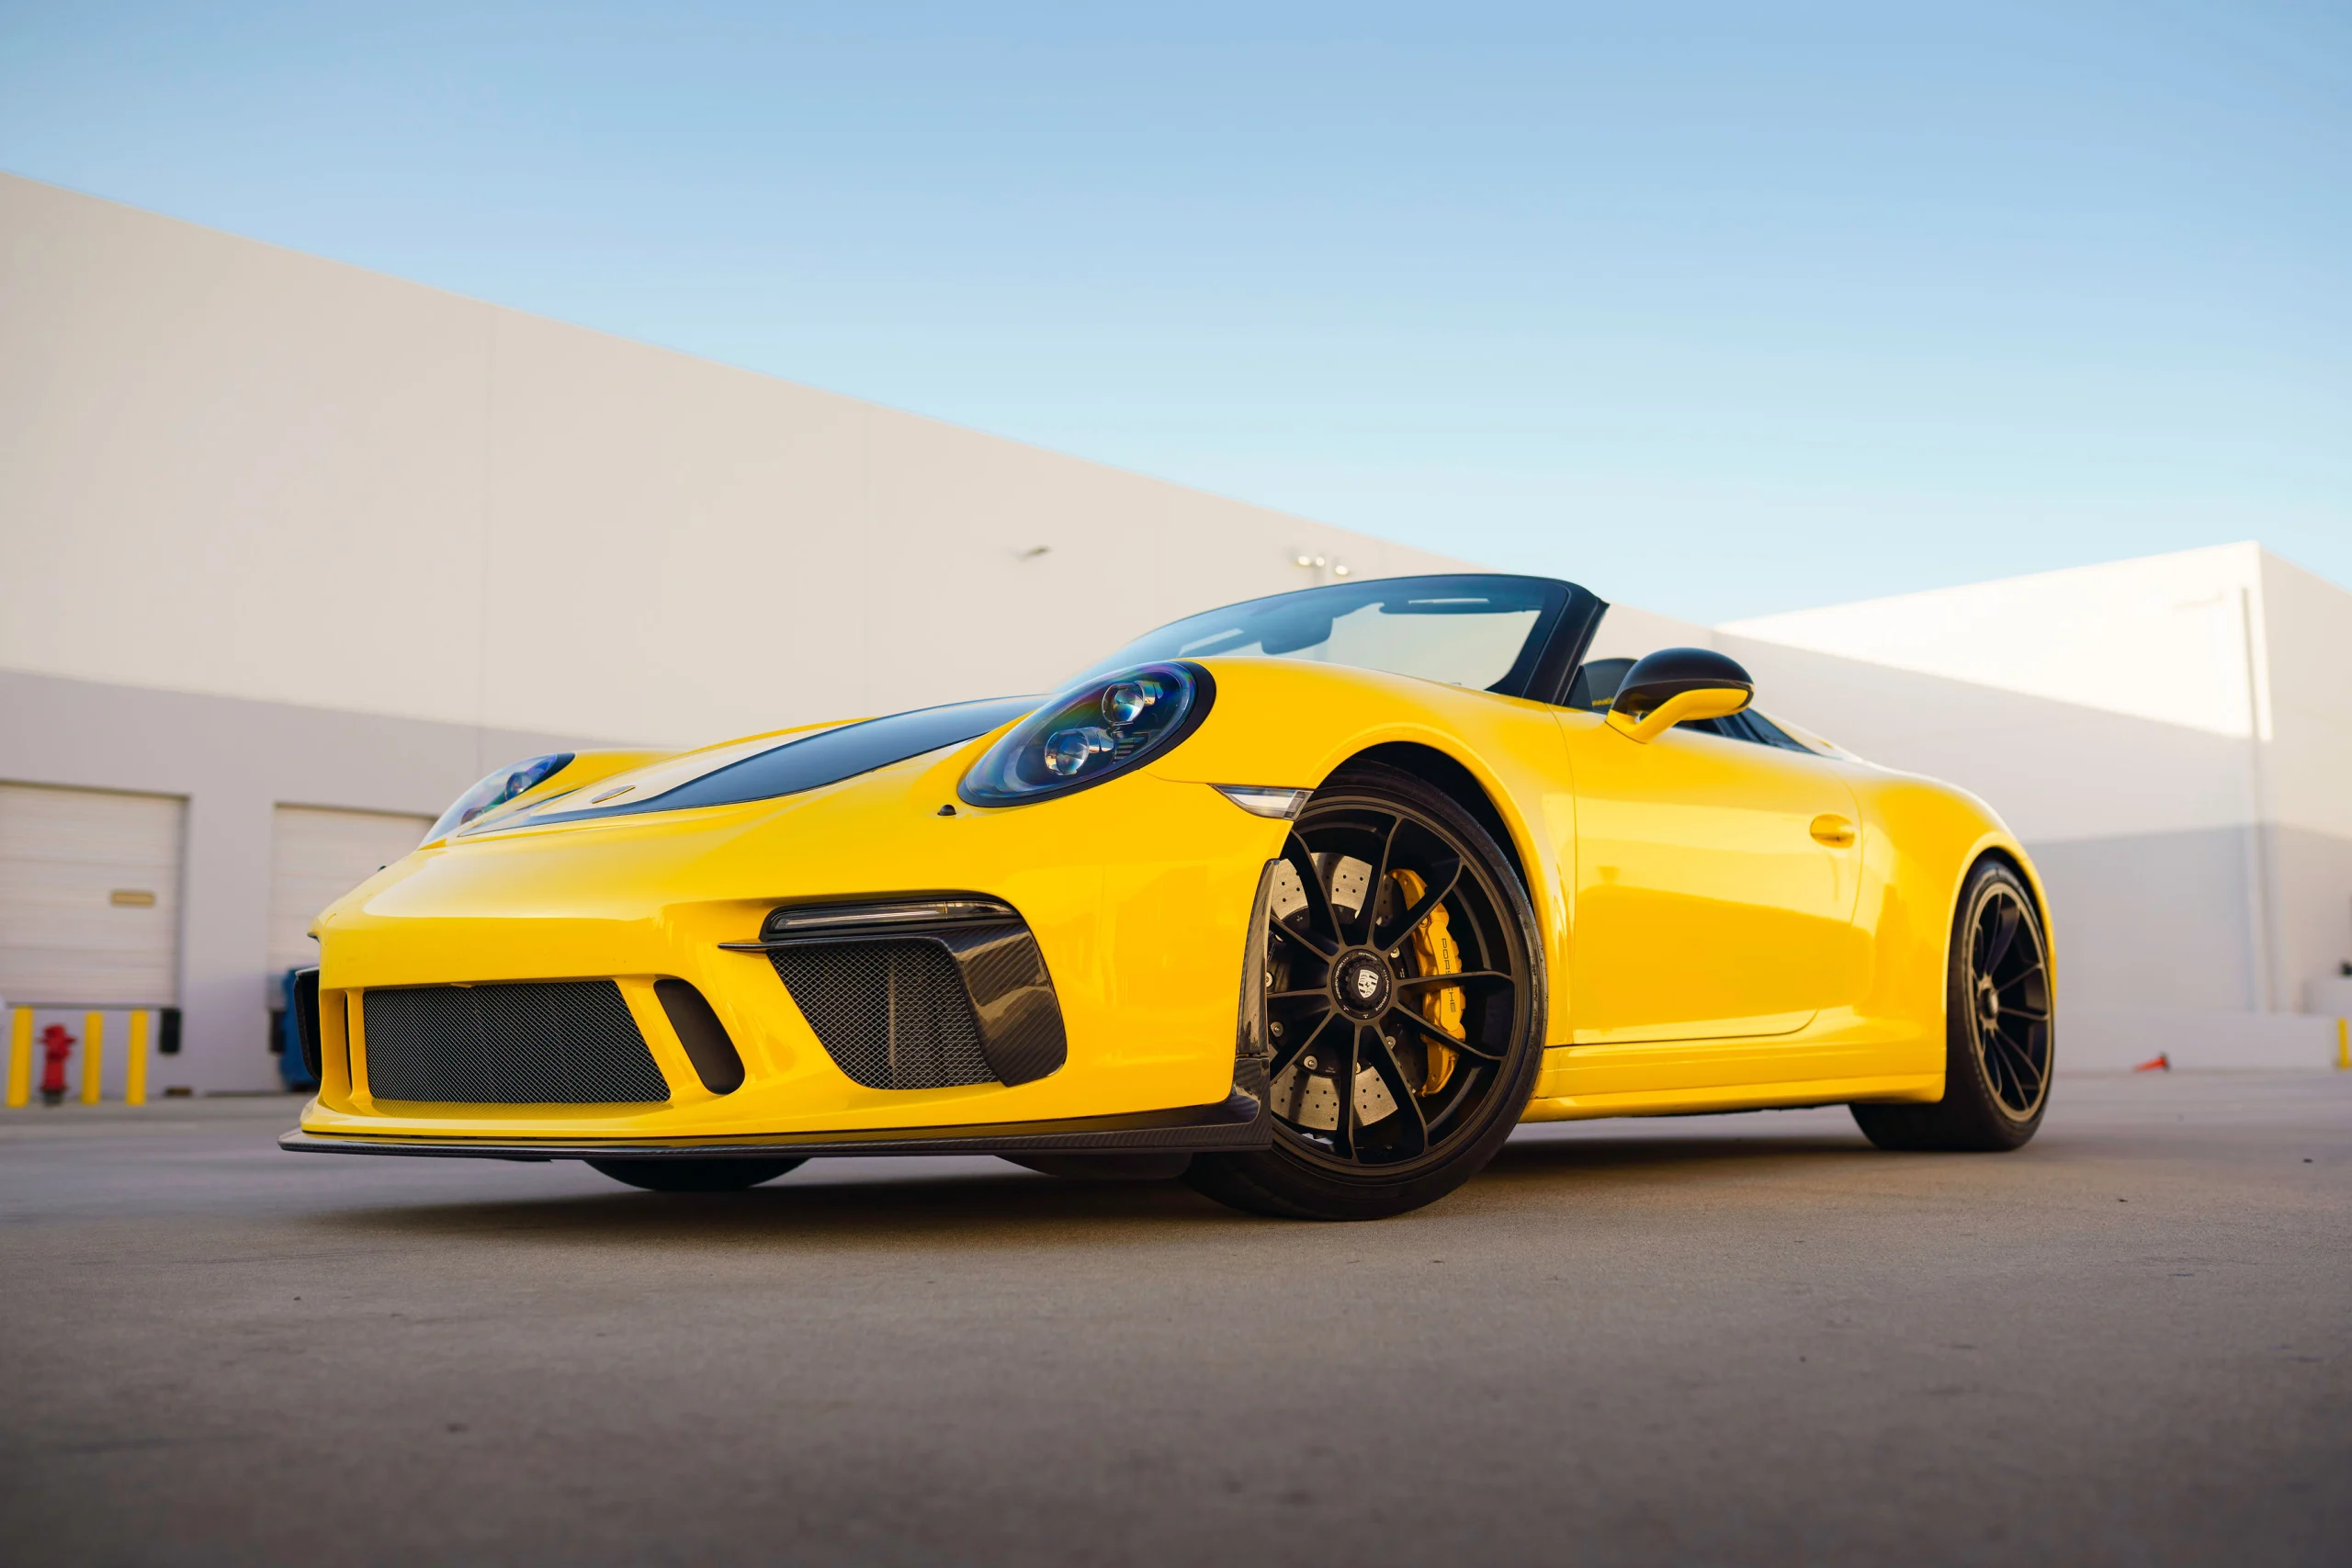
In the world of high-performance automotive customization, an expensive illusion quietly drains thousands of dollars from unsuspecting Porsche owners every single day: the illusion of the “budget” composite panel.
When scrolling through online catalogs or social media forums for aftermarket carbon fiber upgrades – whether a front lid, wider fenders, GT3-style vented louvers, or a rear wing, the initial purchase price looks straightforward. A low-cost, wet-layup carbon hood manufactured overseas might carry an alluring sticker price of $5,800. In contrast, an autoclave-cured, 100% pre-preg dry carbon equivalent from OG Carbon sits at $9,900.
To the uninitiated enthusiast, choosing the lower-priced panel feels like an easy financial win. You save $4,100 up front, which can presumably be put toward tires, exhaust systems, or track days.
Then, the wooden freight crate or cardboard box arrives at your local body shop or specialized European performance facility.
Two hours after dropping off your car, your phone rings. It is your master technician or service advisor with an uncomfortable dose of reality:
“Hi, we just test-fitted that aftermarket carbon hood on your 992. It’s a mess. The driver’s side edge is binding against the top of the fender, the passenger side leaves an 8-millimeter gap, the primary latch striker is misaligned by half an inch, the windshield washer nozzle ports aren’t drilled, and the hinge studs don’t match the factory thread pitch. To make this panel look acceptable and latch safely, we’re going to have to cut into the inner structural frame, slot the hinge holes, apply body filler to level out twisted low spots, ground down the carbon edges, and re-clear the whole unit. We’re looking at 15 to 20 hours of custom fabrication.”
At high-end European collision centers and performance shops where labor rates regularly range from $275 to $350 per hour, that “cheap” $5,800 hood just added $6,000+ in unbudgeted labor costs. And worst of all? Even after throwing thousands of dollars at custom bodywork, you are still left with a structurally compromised, heavily modified, resin-heavy panel that will likely warp or yellow in two summers, not to mention all the wet-carbon heavy resin pin holes that pop-up as the panels suck-up the uncured resin as it cures in the sun. We have frequently seen this happen on many occasions, and are shocked at the poor craftsmanship. Wet carbon can never fully be repaired and will continue to break down as it off-gasses.
At OG Carbon, our team designs parts under a core guiding principle: True product value is never measured at checkout; it is measured on the technician’s lift.
Below is an exhaustive technical look into why low-cost composite parts fail during installation, what actually happens behind the scenes at a body shop during a “custom fitment” job, and how OG Carbon’s zero-modification, direct bolt-on precision saves Porsche owners time, money, and frustration.
The Root Cause of Aftermarket Fitment Disasters
To understand why low-cost carbon fiber parts fit so poorly, you have to look beneath the shiny clear coat and analyze how open-mold wet composites are manufactured compared to aerospace-grade dry pre-preg components.
| WET LAYUP VS. AUTOCLAVE PRODUCTION | ||
| MANUFACTURING METRIC | LOW-COST WET LAYUP | OG CARBON AUTOCLAVE PRE-PREG |
| Master Tooling | Flexible Fiberglass Molds | CNC Billet Aluminum Molds |
| Composite Material | Dry Fabric + Poured Resin | Factory Pre-Impregnated Fiber |
| Resin Control | Manual Brush/Roller (Unbalanced) | Metered ±1% Fiber-to-Resin |
| Curing Process | Ambient Room Air / Oven | 300°F @ 6 Bar Vacuum Pressure |
| Thermal Shrinkage | 2.0% – 4.0% (Uncontrolled) | < 0.1% (Sub-Millimeter) |
| Mounting Hardware | Glued-In Studs / Dry Holes | Embedded Billet 6061-T6 Plates |
| Surface Consistency | High Resin Pockets & Voids | Zero Void Content / Consistent |
Read the OG Carbon blog on the performance impact of carbon fiber to learn more.
Flexible Tooling and Cumulative Mold Degradation
Most budget composite manufacturers cut costs on the very first step of production: tooling.
Instead of investing in multi-axis CNC machines to carve master molds out of solid blocks of aerospace-grade aluminum, budget suppliers purchase a single OEM factory panel (or worse, a competitor’s aftermarket panel) and cast a flexible fiberglass or gelcoat mold over it.
Every time a factory creates a copy of a copy, dimensional tolerances degrade. Furthermore, composite fiberglass molds flex under heat and physical force. As warm epoxy resin cures inside a flexible mold, the exothermic chemical reaction generates heat, slightly warping the mold itself. By the time a factory pulls its 20th or 30th body panel off that soft mold, the tool has twisted. The part coming out of it no longer shares the dimensions of the original Porsche panel.
Uncontrolled Exothermic Resin Shrinkage
In traditional wet layup or vacuum infusion manufacturing, dry carbon fabric is placed into a mold, and liquid resin is poured or pulled through the fibers. As the liquid epoxy or polyester resin undergoes its chemical cure at ambient temperature, it releases heat and contracts.
Uncontrolled resin shrinkage in wet-layup parts ranges between 2% and 4%.
On a Porsche 911 front lid that spans roughly 50 inches in length and width, a 3% volumetric contraction translates to up to 1.5 inches of total panel distortion. This shrinkage manifests as:
- Warped Hinge Geometry: Mounting holes pulled inwards or shifted out of parallel alignment.
- Twisted Panel Profiles: One corner of the hood sits flush with the fender while the opposite corner sits 6 millimeters proud of the cowl.
- Edge Radii Distortion: The perimeter edges pull inward, creating oversized gaps against headlights and fenders.
In contrast, OG Carbon uses 100% pre-impregnated (pre-preg) carbon fiber where the epoxy resin is precisely metered by machinery at the weave factory (a perfect 60:40 fiber-to-resin ratio). When cured inside a high-pressure autoclave at 300°F under 6 bar (nearly 90 PSI) of consolidation pressure, resin movement is virtually zero. Dimensional shrinkage is kept below 0.1%, ensuring sub-millimeter accuracy from part #1 to part #1,000.
Check out our OEM Fitment Porsche 911 Carbon Fiber Hood in our catalogue.
“Glued-In” Fasteners and Surface-Tapped Threads
Installing a bonnet (hood) on a Porsche 911, 718 Cayman/Boxster, or GT3 requires securing structural hinges that experience repeated mechanical cycles, gas-strut forces, and aerodynamic uplift at 150+ mph.
Budget manufacturers routinely handle mounting points using two low-cost methods:
- Glued-In Threaded Studs: Cheap steel studs embedded in a blob of body filler or low-grade adhesive inside the composite shell.
- Tapped Raw Fiberglass/Carbon: Drilling holes directly through thin composite layers and tapping threads into raw resin.
When a technician attempts to torque the hinge bolts to Porsche factory specifications (typically 15 to 20 Nm), these inferior mounting points instantly strip out, break free from their adhesive pockets, or spin uselessly inside the panel. The technician is then forced to stop, cut open the underside of the panel, and fabricate custom mounting plates from scratch.
Learn more about Porsche 992 aerodynamics by heading over to the Carbon Fever blog.

What Actually Happens During a “Custom Fitment” Job
When an ill-fitting composite part lands on a body shop lift, the installer cannot simply “push it into place.” Achieving acceptable panel gaps and functional latching requires extensive, highly destructive bodywork.
Here is the step-by-step breakdown of the labor hours required to force a bad aftermarket carbon hood onto a Porsche:
Phase 1: Initial Trial Fitting & Diagnostic Assessment (1.5 – 2.0 Hours)
The technician unboxes the part, removes the factory aluminum or steel hood, transfers the hinges, and drops the aftermarket panel onto the car. They identify all points of interference:
- Checking panel height against the front bumper cover and fenders.
- Measuring perimeter gap consistency using feeler gauges.
- Checking cowl clearance and hood-strut push force.
- Testing primary and secondary latch alignment.
Phase 2: Slotting Hinge Holes & Modifying Mounting Frames (3.0 – 4.0 Hours)
Because the factory-drilled or molded mounting locations on a cheap panel are rarely aligned with Porsche’s chassis threads, the technician must take a die grinder or carbide burr to elongate (slot) the mounting holes.
- The Hazard: Slotting structural hinge points removes the reinforcing composite material around the mounting bolt. Under heavy wind load or elevated track speeds, the enlarged holes give the bolts room to slip, causing the hood to shift alignment while driving.
Phase 3: Shaving Carbon Edges & Regrinding Clear Coat (3.0 – 5.0 Hours)
If an edge is binding against a headlight housing or top fender ridge, the body shop must physically grind down the carbon fiber weave using rotary sanders.
- The Hazard: Grinding composite edges cuts through the structural outer fibers, exposing the raw, unsealed core to air and moisture. Furthermore, wet-layup parts contain micro-voids (air bubbles trapped in resin). Sanding through the outer gelcoat pops open these tiny air pockets, leaving hundreds of pinholes across the edge.
- The technician must then apply specialized composite filler, block-sand the edges smooth, prime the perimeter, and repaint or clear-coat the sanded areas to prevent moisture intrusion and delamination.
Phase 4: Block Sanding, Leveling Low Spots & Resurfacing (4.0 – 6.0 Hours)
Because wet-layup panels suffer from resin sinkage as they cure, the top surface of a budget carbon hood is rarely flat. It often features ripples, waves, and low spots that become glaringly obvious under shop lights.
- To fix this, the body shop must scuff the entire clear coat, lay down multiple coats of polyester spray filler or high-build primer, hand-block-sand the surface for hours to make it flat, and re-spray the entire panel with high-solid clear coat.
Phase 5: Fabricating Latch Strikers & Washer Channels (2.0 – 3.0 Hours)
A Porsche hood latch mechanism is a critical safety assembly. If the primary latch fails at speed, the hood flies back against the windshield, blinding the driver and causing catastrophic damage.
- Cheap aftermarket panels frequently feature thick, improperly molded striker pockets that prevent the factory Porsche latch from fully clicking into its secondary safety catch.
- Installers are forced to shim the latch mechanism, grind away structural resin, or bend factory brackets to force the latch to engage safely.

The Math: “Cheap” Wet-Layup vs. OG Carbon Precision
When you add up the actual invoices involved in installing both types of components, the financial argument for “budget” carbon fiber completely falls apart.
Below is a detailed real-world cost comparison calculated at a professional body shop labor rate of $275++ per hour:
| EXPENSE CATEGORY | LOW-COST WET LAYUP HOOD | OG CARBON PRE-PREG HOOD |
| Initial Purchase Price | $5,800.00 | $9,900.00 |
| Inbound Freight & Crating | $250.00 | $250.00 |
| Unboxing & Initial Trial Fit | $425 (1.5 hrs) | $262.50 (1.5 hrs) |
| Slotting & Modifying Hinge Mounts | $875 (3.0 hrs) | $0.00 (Direct Bolt-On) |
| Grinding Edges & Shaving Fender Clearance | $1100 (4.0 hrs) | $0.00 (Sub-Millimeter OEM Fit) |
| Block Sanding, Leveling & Pinhole Repair | $1375 (5.0 hrs) | $0.00 (Flawless Autoclave Finish) |
| Custom Latch & Striker Alignment Fabrication | $875 (3.0 hrs) | $0.00 (Factory Latch Geometry) |
| Re-Priming, Painting & Edge Re-Clearing | $1100 (4.0 hrs) | $0.00 (Marine PPG UV Finish) |
| TOTAL INSTALLED COST | $11,800 | $10,412.50 |
| FINAL PANEL WEIGHT | Heavy (Resin + Body Filler) | Ultra-Light 100% Dry Carbon |
| INSTALLATION TURNAROUND TIME | 10 to 20 Days in Shop | Same-Day (1.5 Hours) |
Speaking of carbon fiber pre-preg hoods, check out the OG Carbon blog on the performance impact of a carbon fiber hood.
The Real Cost Takeaway
The low-cost aftermarket panel ended up costing $1,400 MORE out of pocket than the premium OG Carbon panel once it was fully fitted and finished. And that cheap carbon panel will never stand the test of time like the dry-carbon parts that OG CARBON produces.
More importantly, the owner of the budget panel paid more money for an inferior, heavier product loaded with body filler, slotted holes, and ground-down edges—while the OG Carbon customer received an uncompromised, lightweight, aerospace-grade part with pristine factory structural integrity.
The OG Carbon Engineering Protocol: Built for the Technician
At OG Carbon, President Scott Krawczyk designed our entire production chain around eliminating body shop friction. We treat the master technician as our primary customer—because when a part is engineered to install effortlessly, the vehicle owner gets a flawless car back without surprise labor bills.
Here is how OG Carbon achieves a guaranteed, zero-modification bolt-on fitment across our entire line of Porsche components:
1. Metrology-Grade 3D Laser Scanning (50-Micron Precision)
We never rely on second-hand composite castings or manual measurements. Every OG Carbon mold project starts by laser-scanning original, factory-fresh Porsche panels directly on the vehicle chassis using industrial metrology scanners accurate to within 50 microns (0.05 mm).
We capture the exact three-dimensional spatial coordinates for:
- Hinge mounting bolt centers and thread angles.
- Primary and secondary hood latch catch geometry.
- Perimeter gap channels and seal contact lines.
- Windshield washer fluid lines and heating element harness clips.
2. CNC-Machined Billet Aerospace Tooling
Instead of using soft composite or fiberglass molds that degrade over time, OG Carbon cuts its master production tooling directly out of solid blocks of aerospace-grade aluminum using multi-axis CNC milling centers.
Because aluminum tooling maintains zero thermal deflection during high-temperature autoclave cycles, our molds never warp. The 500th panel produced off an OG Carbon aluminum tool possesses the exact same micro-tolerances as the very first panel off the line.
3. Embedded 6061-T6 Billet Aluminum Mounting Plates
We never glue threaded studs into finished carbon fiber or rely on dry tapped holes.
During our manual pre-preg layup process, our composite technicians lay CNC-machined 6061-T6 billet aluminum anchor plates directly between the layers of raw carbon fiber fabric before the component enters the autoclave.
When cured at 300°F under 6 bar of pressure, the aluminum plate becomes an integral part of the carbon matrix. Your installer can thread factory Porsche hardware directly into clean, CNC-tapped threads and torque them to factory OEM specifications with zero risk of stripping, tearing, or spinning.
Check out the OG Carbon guide on preserving your vehicle through modifications.
4. Direct OEM Weatherstrip & Latch Integration
Every OG Carbon panel features fully molded, OEM-spec channels designed to receive original Porsche rubber weatherstripping, washer fluid lines, and latch mechanisms:
- Primary Latch Assembly: Drops straight into place and aligns perfectly with the factory radiator core support catch.
- Gas Struts: Mount directly to embedded aluminum pivot ball locations without requiring custom bracketry or modified strut valving.
- Perimeter Seals: Push directly into pre-molded channel grooves, ensuring a water-tight seal that prevents engine bay moisture intrusion.

What Top Installers Say About OG Carbon
Premier European collision centers, Porsche racing prep facilities, and elite restoration builders nationwide actively direct their clients toward OG Carbon for one primary reason: repeatable accuracy.
*”When a client brings in a cheap, unbranded carbon hood they bought online, we automatically bill them on an open-ended time-and-materials basis. We know our guys are going to spend two days grinding, shimming, slotting, and repainting just to get the panel gaps straight.
When an OG Carbon crate arrives at our shop, we know it’s a 90-minute job. We unbox it, transfer the factory latch mechanism, bolt it to the hinges, torque it to factory spec, and check the gaps. It drops right into place with consistent 3.5mm panel gaps all the way around. It fits like it came out of Porsche’s factory in Weissach.”*
— Walker Hartman, Lead Composite Technician, Speedworks Automotive
Stop Paying for Custom Fabrication: Upgrade to OG Carbon
When upgrading your Porsche 911, 718, or Taycan with lightweight composite body panels, do not let a deceptively low initial sticker price lure you into thousands of dollars in hidden body shop labor charges. Demand aerospace-grade autoclave pre-preg dry carbon fiber engineered directly from 3D laser-scanned OEM factory data.
Eliminate the stress of ground-down edges, slotted hinge holes, surface ripples, and endless shop delays. Choose composite panels engineered for the installer – saving you time, protecting your financial investment, and delivering pristine OEM panel gaps right out of the box.
Head over to our recent blog for our ultimate Porsche Carbon Fiber FAQ, to learn the 7 critical questions before upgrading.
Ready to Order Direct-Fit Carbon Fiber for Your Porsche?
Speak directly with our technical team to discuss platform-specific fitments, custom 2×2 twill or forged weave options, and wholesale shop pricing.
Contact the experts at OG Carbon, visit our catalogue, and check out the rest of our blogs in our Carbon Fever blog.